How to Repair Bent Window Screen Frames

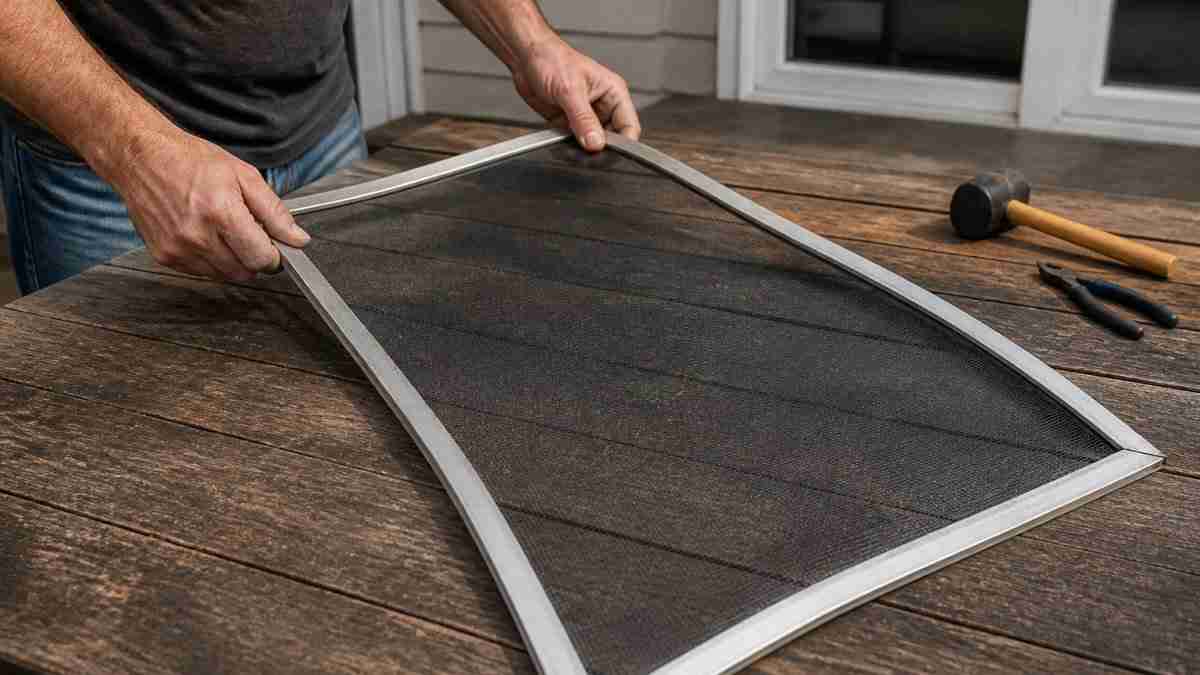
Table of Contents
- Step 1: Diagnose the Damage Before You Touch the Frame
- Step 2: Remove the Screen and Gather Window Screen Repair Tools
- Step 3: How to Straighten a Bent Window Screen Frame
- Step 4: Repair Small Holes and Tears in the Screen Mesh
- Step 5: How to Measure a Window Screen Frame Before Replacing It
- Bent Window Screen Frame Replacement: When Repair Won’t Work
- Preventing Repeat Bending and Checking the Finished Fit
- Conclusion
- Frequently Asked Questions
Last Updated: October 20, 2026
Step 1: Diagnose the Damage Before You Touch the Frame
A bent window screen frame is a frame that has lost its square shape, usually at a corner or along one rail, so the screen no longer sits flush in the window opening.
Start by laying the screen on a flat, hard surface. Press down on all four corners. If the frame rocks instead of sitting flush, it’s warped or twisted.
Then check these points:
- Frame alignment: Measure both diagonals from corner to corner. If the two numbers differ by more than about 3 mm, the frame is out of square.
- Loose corners: Wiggle each corner gently. Movement means the corner brace has pulled free.
- Spline condition: Run a finger along the spline groove. A spline that’s popped out or chewed up needs attention before you straighten anything.
Checking Frame Alignment and Loose Corners
Frame alignment tells you whether the damage is a simple bend or a twist. A twist is worse. Hold the screen up to a window and sight along the top rail.
Loose corners are a common problem. Aluminum frames use corner braces held by small screws or crimps. When those loosen, the frame spreads and the screen sags. Tighten or replace the braces before you straighten the rails, or the bend will come right back.
Step 2: Remove the Screen and Gather Window Screen Repair Tools
Window screen repair tools are simple and cheap. You probably own most of them already. Pull the screen out of the window opening first, then set up on a flat, hard surface like a workbench or driveway.
Here’s what to gather:
- Needle-nose pliers for bending and pulling spline
- A small pick tool or awl to lift the spline out of its groove
- A putty knife or stiff scraper for pressing spline back in
Match your spline diameter to the groove before you buy. A spline that’s too thin lets the mesh pull loose. Too thick, and it won’t seat at all. Bring a scrap of the old spline to the hardware store.
Removing and Reinstalling Spline
To remove the spline, slip a pick tool under one end and lift. Pull it out slowly around the perimeter. Keep the old spline as a size reference.
To reinstall, lay the new mesh over the frame, press it into the groove with a putty knife, then roll the spline in with a screen roller or the edge of a putty knife.
Step 3: How to Straighten a Bent Window Screen Frame
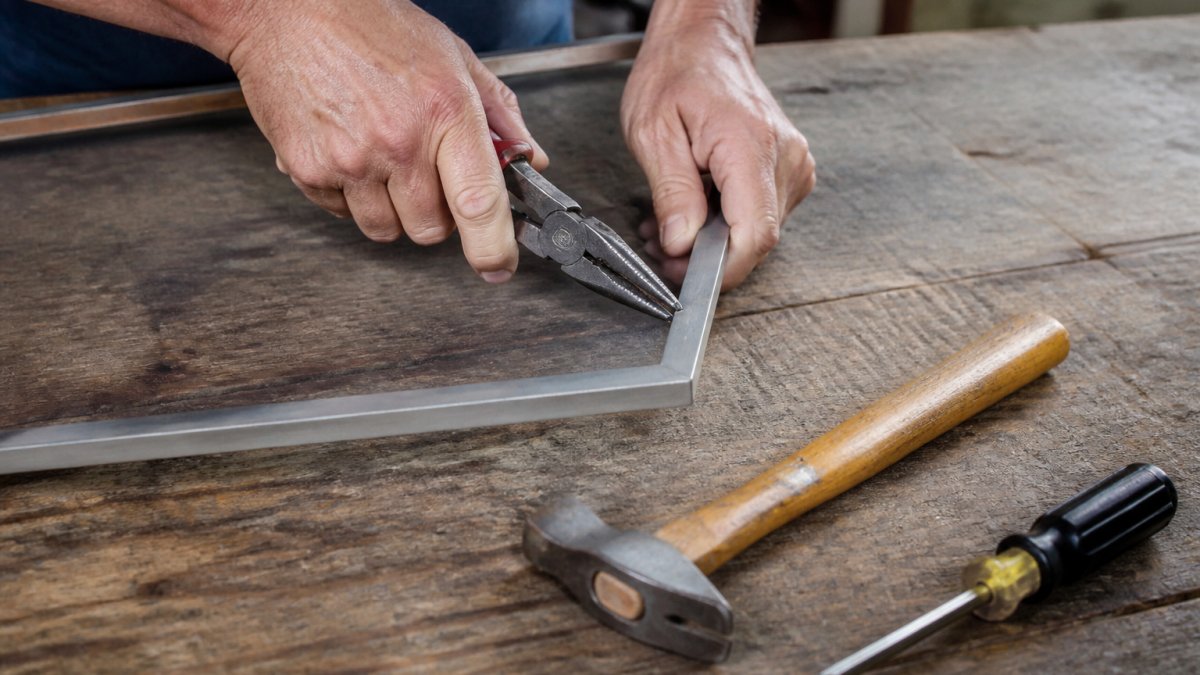
To straighten a bent window screen frame, work in small, controlled increments and check alignment after every adjustment. The goal is to move the rail back toward square without creasing the metal or cracking a corner.
Set Up for Controlled Straightening
Lay the frame on a flat, hard surface, a workbench, a garage floor, or a driveway. A soft surface like carpet or grass lets the frame flex away from your pressure, so you never actually correct the bend.
Support the frame so the bend sits flat against the surface and the rest of the rail is not hanging in the air.
The Straightening Sequence
- Identify the bend axis. Sight down the rail from one end. Note whether the rail bows outward, inward, or twists. A twist needs a different correction than a simple bow.
- Grip just outside the bend. Use needle-nose pliers with the jaws padded with cloth or electrical tape. Grip the rail on either side of the bend, not on the bend itself. Gripping the bend point concentrates stress and causes a kink.
- Apply slow, even pressure. Bend the rail back toward straight in increments of roughly 1/8 inch at a time. Hold each correction for a few seconds, release, and check.
- Recheck diagonals after every pass. Measure corner to corner. When the two diagonal measurements are within about 1/8 inch of each other, stop. Overworking the metal work-hardens it and makes the next bend more likely.
- Flatten small kinks with a mallet. Tap gently with a rubber mallet on a padded block. Do not strike the rail directly with a metal hammer; it will dent the profile and crack the finish.
Never clamp a frame in a vise and crank it straight. A vise concentrates force at one point and will crush the hollow rail profile. If you need holding power, use a clamp with padded jaws and tighten only enough to keep the frame from sliding.
Material and Profile Differences
The same technique does not work across every frame. Match your method to the material:
- Aluminum: The most common residential frame material. It bends gradually and holds a correction well, but thin big-box rails kink easily. Use padded pliers and small increments. Heavy-gauge aluminum tolerates more correction than thin extruded rail.
- Steel: Stronger and stiffer than aluminum. It resists bending, which means it also resists straightening. Use a mallet and block for small corrections rather than pliers, and expect to stop sooner, steel that has been bent past its elastic limit will crack rather than return.
- Vinyl: Vinyl frames are more likely to crack than bend. If a vinyl frame is visibly bowed, warming it gently with a hair dryer on low and weighting it flat overnight is safer than pliers. Skip the mallet entirely; vinyl dents and shatters.
When to Stop Straightening
Stop and move to replacement if any of these appear:
- The diagonals stay unequal after two full straightening passes.
- The rail shows a sharp crease or a visible crack at a corner.
- The frame will not sit flat on the workbench after correction.
A frame that has been straightened twice and still will not sit square has lost its structural memory. Further bending weakens it and risks a corner failure that lets the screen pop out of the window. Replacing the entire assembly is often more cost-effective than repeatedly fixing window frames that have compromised seals and allow cold air to infiltrate your home.
Step 4: Repair Small Holes and Tears in the Screen Mesh
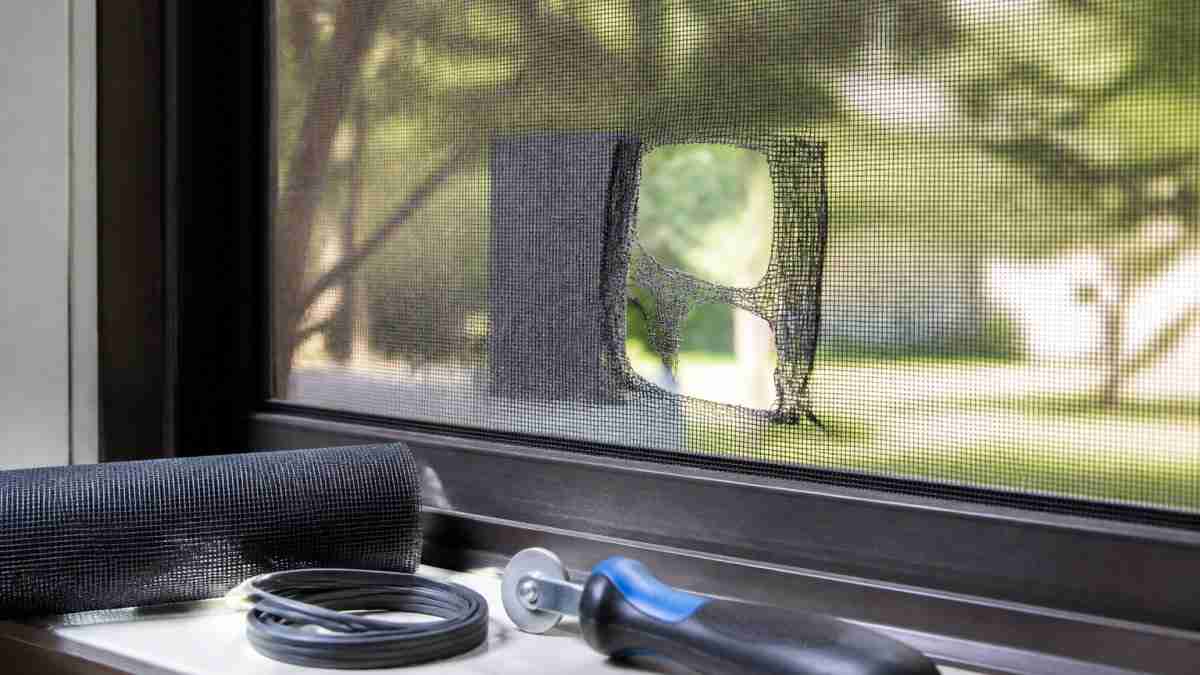
Small holes and tears in the screen mesh are fixable without replacing the whole screen. The fix depends on size.
- Holes under 6 mm: clear nail polish or a drop of super glue to seal the edges.
- Tears up to 25 mm: a self-adhesive patch kit. Trim the patch round, not square, so corners don’t peel.
- Larger damage or pet tears: replace the mesh. Pet-resistant mesh is worth the upgrade if a dog or cat caused the damage.
Don’t patch over a tear that reaches the spline groove. The patch won’t hold tension, and the mesh will pull loose within weeks. Replace that section of mesh instead.
Step 5: How to Measure a Window Screen Frame Before Replacing It
To measure a window screen frame, take three readings of both width and height, then use the smallest number. Measure the frame itself, not the window opening. This is where most DIY measurements go wrong.
Follow this order:
- Measure the width at the top, middle, and bottom of the frame.
- Measure the height at the left, middle, and right.
- Use the smallest width and height.
- Note the frame profile depth so the new screen seats in the channel.
Write the numbers down before you order. Guessing from the window opening adds a gap that lets insects in and lets the frame rattle.
Bent Window Screen Frame Replacement: When Repair Won’t Work
Replacement is the right call when the frame has lost its shape in a way straightening cannot fix. The decision comes down to three checks: frame geometry, corner integrity, and fit in the window opening. Run all three before you spend money on either repair or replacement.
The Three-Check Decision Framework
Check 1: Frame geometry. Lay the frame on a flat surface and measure both diagonals.
Check 2: Corner integrity. Wiggle each corner. A corner that moves, shows a gap at the joint, or has a broken or missing brace will not hold the screen under tension.
Check 3: Fit in the opening. Reinstall the frame and open and close the window.
Replacement Thresholds
Replace the frame when any of these are true:
- The diagonals stay unequal after two straightening passes.
- The metal is cracked, kinked, or creased at a corner or along a rail.
- More than one corner brace is broken or missing.
A warped frame that never sits flat will keep popping out. It also leaves gaps that defeat the whole point of a screen.
Measuring for a Replacement Frame
Measure the frame itself, not the window opening. Use a tape measure and take three readings of both width and height, then use the smallest number for each dimension. Note the frame profile depth so the new screen seats in the channel. Write the numbers down before you order, guessing from the window opening adds a gap that lets insects in and lets the frame rattle.
Repair Time and Cost Versus Replacement
A minor straightening job with tools you already own takes about 30 to 60 minutes. A spline and mesh refresh adds another 30 to 45 minutes and typically runs $10 to $25 in materials at a hardware store. A replacement frame is a different budget: a custom-made assembled screen is priced by size and profile, and a big-box stock screen is cheaper but rarely matches a non-standard opening.
Repair is for bends. Replacement is for twists, cracks, and repeated failures. If you have straightened the same frame twice, buy a new one. A custom-made replacement can offer a precise fit and easy installation.
Preventing Repeat Bending and Checking the Finished Fit
Preventing repeat bending comes down to fit and handling. A screen that fits tight doesn’t flex every time the window opens.
Check the finished fit before you call the job done:
- Screen fit: the frame should sit flush with no rocking.
- Frame stability: press each corner; nothing should shift.
- Screen stays in place: open and close the window a few times and watch for movement.
Store spare screens flat, not leaning against a wall. Lift screens out by the frame, never the mesh. And if pets are the culprit, ask about pet-friendly door screens with tougher mesh before the next tear happens.
Conclusion
A bent frame is a hassle, but most minor bends are a weekend fix with basic tools. The tricky part is knowing when to stop straightening and start replacing. That’s where we come in. Best Custom Screens builds fully assembled, custom-sized screens with heavy-duty all-metal construction and pet-friendly options, shipped nationwide and ready to install. Submit a request for quote and get a screen that fits right the first time.
Frequently Asked Questions
Can you repair a bent window screen frame?
Yes, if the bend is minor. A slightly warped or bent window screen frame can often be straightened by hand or with pliers on a flat, hard surface. However, if the frame is severely damaged, cracked at the corners, or warped beyond about a quarter inch, repair usually won’t hold and bent window screen frame replacement is the better option. Always remove the screen first and work carefully to avoid cracking the metal.
Can a bent screen frame be straightened without removing the mesh?
It’s possible for very minor bends, but it’s risky. The screen mesh and spline hold tension on the frame, which can fight your straightening efforts and cause the mesh to tear. For a reliable repair, pull out the spline and remove the mesh first so you can work the frame flat without damaging the screen material. You can reinstall the same spline and mesh afterward if they’re in good shape.
What tools do you need to repair a bent window screen frame?
Basic window screen repair tools include a screwdriver or pick tool to lift the spline, needle-nose pliers for controlled bending, a rubber mallet or hammer, a flat hard work surface, and duct tape for temporary reinforcement. For mesh repairs, add a spline roller and replacement spline. Having the right tools on hand prevents over-bending and keeps the frame square while you work.
How do you keep a screen frame square while straightening it?
Measure both diagonals of the frame before and during the repair. If the two diagonal measurements match, the frame is square. Work slowly on a flat, hard surface, apply gentle pressure in small increments, and check the diagonals after each adjustment. Reinforcing the corners with metal braces or corner braces helps hold the frame square once you’ve straightened it.