Fix Window Screen Near Me: DIY Repair & Pro Costs

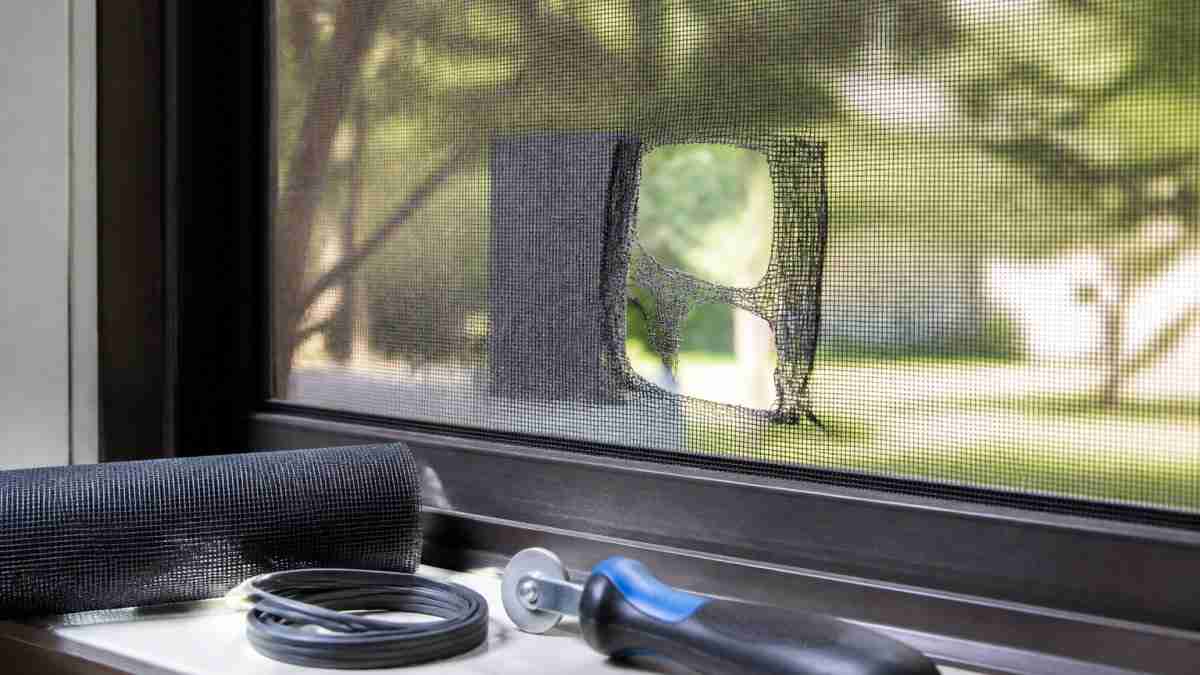
Table of Contents
- Fix Window Screen Near Me: DIY or Call a Pro?
- How to Repair a Window Screen in 6 Steps
- Window Screen Repair Tools You Actually Need
- Window Screen Spline Replacement: Sizing and Fit
- Window Screen Repair Cost: DIY vs Local Service
- Repair or Replace? Deciding on a Damaged Screen
- When to Hire a Local Window Screen Service
- Frequently Asked Questions
Last Updated: October 13, 2026
Fix Window Screen Near Me: DIY or Call a Pro?
A torn window screen lets bugs in and makes the view look ragged.
A window screen repair restores a damaged frame or mesh so it seals your window opening again.
The short answer: small tears under an inch are a DIY patch job.
Below: the six-step repair, the tools that matter, spline sizing, and how to decide between fixing and replacing.
How to Repair a Window Screen in 6 Steps
Repairing a window screen takes about 20 to 30 minutes per frame once you have the materials. Here is the sequence, including the steps most guides skip.
Step 1: Remove and Inspect the Screen Frame
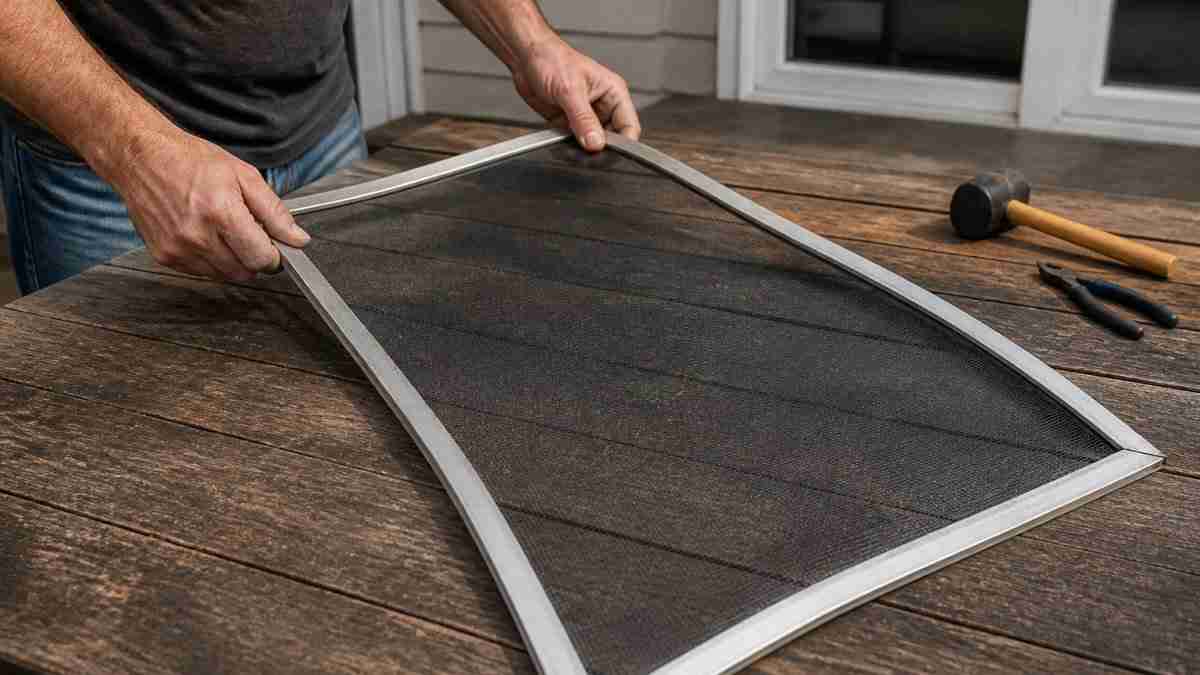
Lift the screen out of its channel. On most double-hung and sliding windows, it sits in a track, lifts into a recessed channel at the top, then tilts out at the bottom.
Run your hand along the frame and mesh to find every tear. Check the spline, the rubber cord holding mesh in the groove, for brittleness: press a fingernail in, and if it cracks or feels hard, replace it.
Step 2: Pull the Old Spline and Remove the Mesh
Work a flathead screwdriver or spline-removal tool under one end of the old spline and lift it out. Once you have an inch free, grip it with pliers and pull steadily around the perimeter.
With the spline out, the old mesh lifts away. Set it aside as a template. Scrape dried spline residue out of the groove, then wipe the frame clean, a groove packed with old rubber will not seat new spline evenly.
Step 3: Cut New Mesh to Size
Roll the new mesh over the frame and cut it at least one inch larger on all sides. The overhang gives you something to grip while rolling and lets the mesh settle before trimming.
Mesh has a weave direction, it stretches more across the roll than along it. Lay it so the weave runs parallel to the frame edges; cutting against the weave leaves a screen that ripples in sunlight.
Step 4: Roll the Spline Into the Groove
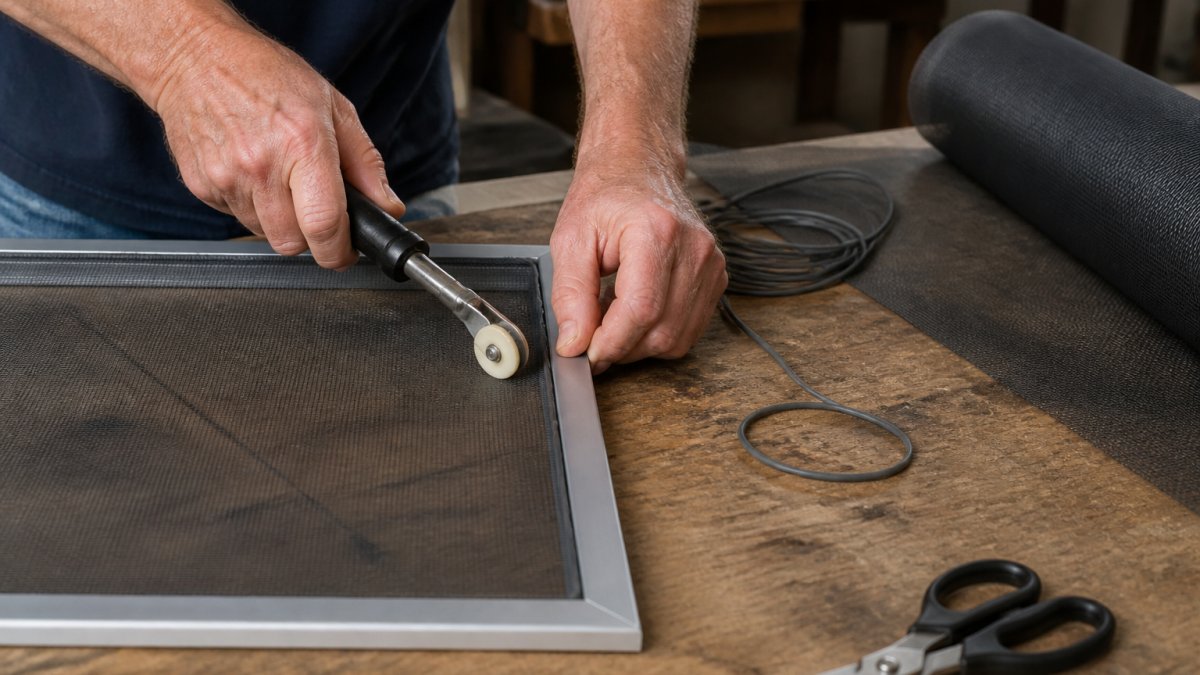
Start at one corner, press the mesh into the groove with your thumb, then seat the spline over it. Run the concave wheel of the spline roller along the groove, pressing spline and mesh down together, working around the perimeter in one direction.
At each corner, do not stop and reverse. Roll through in a smooth arc, then continue down the next side, reversing mid-groove stretches the mesh unevenly and leaves wrinkles.
Work the spline roller in one direction around the frame rather than back and forth. If the spline will not seat, the groove is too narrow for that spline diameter, switch to a thinner spline rather than forcing it.
Step 5: Trim the Excess Mesh
Run a utility knife along the outside edge of the spline, blade flat against the frame so you do not cut the spline. Trim all four sides. A fresh blade matters, a dull one snags the mesh and pulls it out of the groove.
Step 6: Reinstall and Check Tension
Seat the frame back into the window channel. Press the mesh with your palm: it should feel firm and drum-tight. If it sags, the spline is too thin or the mesh was cut against the weave. If the frame bows and will not seat, the spline is too thick.
Using the wrong spline size is the number one reason a DIY rescreen fails within a season. If the spline is too thin, the mesh pulls free in the groove. Too thick, and the frame bows and will not seat back in the window channel.
Patching a Small Hole Instead
For a tear under about an inch, you do not need to rescreen the whole frame. Cut a patch of matching mesh a half-inch larger than the hole on all sides, fray the edges, and work them into the existing weave with a needle or your fingers. The patch locks into the surrounding mesh and is nearly invisible from a few feet away, but it is a stopgap that holds a season or two, not forever.
Window Screen Repair Tools You Actually Need
The spline roller is the one tool you cannot substitute, its concave wheel presses spline and mesh into the groove without tearing either.
| Tool | Purpose | Approximate Cost |
|---|---|---|
| Spline roller | Presses spline and mesh into groove | Low |
| Utility knife | Trims excess mesh | Low |
| Scissors or tin snips | Cuts mesh to size | Low |
| Flathead screwdriver | Removes old spline | Low |
| Tape measure | Measures frame and spline size | Low |
A basic screen repair kit bundles most of these. For one screen, a kit is cheaper than buying each piece.
Wear eye protection when cutting mesh, since the wire edges are sharp, and gloves when pulling hardened old spline.
Window Screen Spline Replacement: Sizing and Fit
Window screen spline replacement hinges on one measurement: the diameter of the groove in your frame.
Measure the groove width, not the old spline, since old spline shrinks and flattens over time.
Two more fit details matter. Standard hollow spline works for most aluminum frames, while foam-core spline suits uneven grooves.
If the frame groove is damaged or the corners are loose, spline replacement alone will not fix it.
Window Screen Repair Cost: DIY vs Local Service
Window screen repair depends on whether you do the work or hire it out, and on how many screens are involved. Here is what drives the decision, and how the two paths compare.
DIY Material Costs
A DIY rescreen is a materials purchase, with tools as one-time buys you reuse on every future screen.
- Fiberglass mesh: sold by the roll, typically enough to do several standard windows. Charcoal and gray are the common colors.
- Aluminum mesh: priced higher than fiberglass per roll and stiffer to work with, but more durable against pets and impacts.
- Pet-resistant mesh: the premium option, a heavier vinyl-coated or tightly woven product that costs noticeably more per roll than standard fiberglass.
- Solar screen mesh: mid-to-premium pricing, sold by the roll, and darker in color to cut glare and heat.
- Spline: sold by the foot in a range of diameters. Cheap per foot, but you need the right diameter or the job fails.
For a single standard window, a DIY rescreen is a project, mesh and spline are the only consumables, and the roller can be reused.
Professional Service Costs
A local screen service charges per screen, driven by labor plus materials. The per-screen rate may vary when you bundle several screens into one visit, since setup and travel time spread across the job.
Several factors move the number up or down:
- Screen size: Larger frames use more mesh and take longer to roll.
- Mesh type: Standard fiberglass is the baseline. Pet-resistant, solar, and heavy-duty security mesh cost more per screen.
- Frame condition: A bent or corroded frame needs replacement, not just rescreening, which adds a new-frame cost on top of labor.
- Access: Second-story or hard-to-reach windows add labor for setup and safety.
- Volume: Bundling multiple screens lowers the per-screen price.
- On-site vs. shop: A mobile service that rescreens at your home may offer convenience over a shop that takes frames back to a facility, as you skip the removal-and-reinstall work.
How to Compare a Quote
Because pricing varies by region and screen type, get a written estimate before anyone starts. Ask:
- Does the quote cover materials, labor, and disposal of the old mesh?
- Does the price change if the frame turns out to be damaged?
- Is the work done on-site or at a shop, and what is the turnaround time?
- Is there a minimum charge or a trip fee?
A quote that only gives a per-screen rate without stating whether the frame is included is not a real quote. Get the frame condition confirmed in writing before you approve the work.
When DIY Stops Making Sense
DIY is often suitable for standard-size frames with sound spline grooves. It stops making sense when the frame is bent or custom-sized, the windows are high or awkward to reach, or you have a full house or porch of screens and the time investment outweighs the material savings.
Repair or Replace? Deciding on a Damaged Screen
Repair the screen when the frame is sound and only the mesh is damaged. Replace it when the frame is bent, cracked, corroded, or will not seat properly in the window channel.
Use this quick decision test:
- Small hole or tear, solid frame: Patch or rescreen. DIY is fine.
- Large tear, sagging mesh, or brittle spline: Rescreen the frame. Still DIY-friendly.
- Bent or cracked frame, loose corners: Replace the screen.
- Odd or custom size that no store stocks: Order a custom screen.
- Pet damage that keeps recurring: Upgrade to pet-resistant mesh instead of repairing the same spot again.
The mistake most homeowners make is patching a screen that has already failed structurally. A patch may offer a temporary solution. If the spline is shot and the mesh is brittle, rescreen the whole frame once and be done.
When to Hire a Local Window Screen Service
Hire a local window screen service when the job involves custom sizes, damaged frames, hard-to-reach windows, or more screens than you want to handle.
Call a pro if any of these apply:
- The frame is bent, cracked, or a nonstandard size.
- You need a custom screen built to exact dimensions.
- The windows are high, large, or awkward to reach.
- You have a full house or a porch full of screens.
- You want heavy-duty or solar mesh fitted correctly the first time.
When you compare local providers, confirm they serve your area, ask about turnaround time, and get the estimate in writing.
For homeowners who would rather skip the repair loop entirely, a fully assembled custom screen arrives ready to install. You can review the U.S. Consumer Product Safety Commission guidance on window covering and screen safety if you are fitting screens around child-accessible windows.
Fix the mesh when the frame is solid. Replace the screen when the frame is not. Matching the repair to the actual problem is what stops you from rescreening the same window twice in one year.
A damaged screen is a small problem with a clear fix, whether you patch it yourself or hand it to a local service.
Frequently Asked Questions
Can I repair a window screen myself?
Yes, most small tears and holes are fixable at home. For holes under a quarter inch, a clear adhesive patch pressed over the tear works as a quick fix. Larger damage means cutting out the old mesh and installing new screen material with fresh spline. You will need a spline roller, a utility knife, and the correct spline diameter for your frame. If the frame itself is bent or the corners are pulling apart, replacement is usually the better call.
How much does it cost to repair a window screen?
Doing it yourself typically requires a roll of mesh, a length of spline, and a spline roller tool, which you can reuse on every screen in the house. Hiring a local service involves paying for labor, travel, and materials. Exact pricing depends on screen size, mesh type, and whether the frame needs work. Request a quote from a local provider for current rates.
Is it better to repair or replace a window screen?
Repair makes sense when the frame is straight and solid and only the mesh is torn. Replace the whole screen when the frame is bent, corroded, or the corners have separated, since new mesh will not fix a warped frame. Pet damage, storm damage, and sun rot that has made the mesh brittle all point toward replacement. If you are unsure, pull the screen out and check whether it sits flat on a table.
What tools do I need to repair a window screen?
The core kit is a spline roller, a utility knife, a flathead screwdriver for prying out the old spline, and scissors or tin snips for trimming mesh. A tape measure helps you order the right mesh and spline size. For stubborn frames, a putty knife protects the frame while you work the old spline loose. Everything fits in a small toolbox, and the roller and knife get reused for years.