


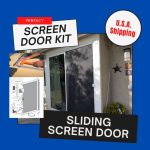


Aluminum Sliding Screen Door Kit
Price range: $199.99 through $209.99 price_excluding-tax
The Perfect Sliding Screen Door Kit
You’ve searched far and wide for the perfect patio screen door, and here it is. Perfect for sliding glass doors to keep leaves, pollen, insects, and small animals out of your home. This kit comes with all the hardware you need, including the handle and rollers. Our unique design enables you to assemble the screen door in five steps.
Not all screen doors are created equal. Our quality sliding screen door kit is crafted from 2” x 1/2″ extruded aluminum, built to withstand even the strongest storms that blow through your neighborhood. With tensioned wheels that ensure quiet operation, you can rest assured that these doors will last a lifetime without issue.
Sliding Door Screen Replacement Kit provide quality at an affordable price
Aluminum Sliding Screen Door Kit, Are you looking for a premium quality aluminum sliding screen door replacement kit at an affordable price? Why settle for something cheaply made from the hardware store? Our diy screen door kit is made from strong materials and built to last.
We’ve taken away the guesswork to provide you with the most affordable aluminum sliding screen door kit on the market. The same exceptional quality that’s made us America’s favorite screen door brand is all wrapped up in an easy-to-install diy package so you can easily assemble and install all on your own, hassle free.
DIY, Handyman, & Contractor go to choice
Our Do-It-Yourself sliding screen door kit is your answer to a new and better looking home in no time! How does it work? The secret is in the hardware: we enclosed our same quality hardware in a simple to install, affordable kit. It’s so easy, we’ve even and awesome how to video on our website and YouTube assemble and install just like the professionals.
Specifications of the Aluminum SSD Kit
Sizing:
Available Widths: 30”, 36”, & 48”.
Available Heights:
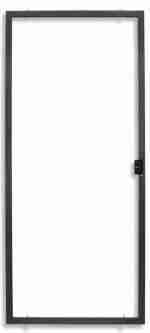
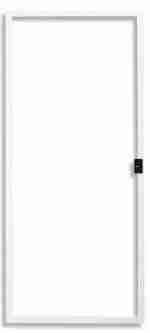
Frame: 2″ x 1/2″ Extruded aluminum frame painted.
Get the best in aesthetics and durability with our high-quality patio door profiles designed for small or large openings, including commercial and other highly demanding uses.
Frame Colors: White, Bronze, Mill, Tan, & Champagne.
Available Screening: (Additional charges may apply – see product options)
- Fiberglass 18×16 mesh charcoal color (included at no extra charge)
- Fiberglass 18×16 mesh gray color
- Pet Screen Black
- Pet Screen Gray
- Sun Screen Charcoal
- Sun Screen Bronze
- Sun Screen Gray
- Suntex 80 Black
- Suntex 80 Brown
- Suntex 80 Beige
- Suntex 80 Stucco
- Suntex 80 Gray
- Suntex 80 Dark Bronze
Fabrication: Miter cut, reinforced with four Aluminum Corners with adjusting screw for wheels
Roller Assembly: Steel Rollers with 1 ¼” steel wheel with ball bearings and steel plated housing. Wheels are standard top / bottom roller.
Bug Seal: 3/4″ Vinyl Bug Seal Black. Prevent debris buildup and keep insects out with our vinyl sealing systems that provides a neat, clean sightline when installed.
Latch Assembly: Black inside and outside handles, Q lever, ¼” actuator screw, & 4 ea. 3/8” inside and outside handle screws included and mounted on the frame. Add beauty and function with our ergonomic handles made with high-quality components that are built to inspire and perform.
Lockstrike: Steel lockstrike, two #6 – 3/8” pan head screws included in the kit.
DIY HACK – PUT TOGETHER A SCREEN DOOR KIT
Firstly, please follow our instructions on how to assemble the Sliding Screen Door Kit. Our #1 Nationwide seller the Aluminum Sliding Screen Door Kit.
Secondly, the Best Custom Screens kits are cut to size and are easier to assemble. If you are the DIY Person or home improvement expert or beginner? No matter what skill level, it’s a simple process. If you watch our How to Install a Sliding Screen Door video it’ll all make sense.
Putting together a Sliding Screen Door Kit can be easy if you have the right tools for the job. Most handyman, maintenance people, and construction workers have the right stuff to get it done!
Tools Needed to put together the kit:
- Plastic Roller Tool for Screening (available to purchase)
- Philips head screwdriver
- utility knife
- dead blow hammer or rubber mallet
10 STEPS ON HOW TO ASSEMBLE A SCREEN DOOR KIT
- Remove the Sliding Screen Door Kit from the box and packaging.
- Layout the frames on the floor, grass or on a 4 ft x 8 ft table.
- Do not layout on cement because it can scratch the paint.
- Corners are inserted at the top and bottom frames.
- Attach both top and bottom door frames to the side frames.
- Use the dead blow hammer or rubber mallet to tap the frames together, to create a tightly joined mitered corner.
- Use the Plastic Roller Tool to roll in the screen spline into the fiberglass screen material with the frame.
- Trim any excess screen fiber.
- Learn How to Install a Sliding Screen Door by watching our video.
- Find the adjusting screws at the side of the door frame. Use the Philips screwdriver to adjust wheels. Install the door.
Customer Notice:
Sizing tolerance is plus or minus 1/8 inch. Consumer takes full responsibility for measurements. Consequently, Best Custom Screens is not responsible for consumer measuring errors. Thank you for measuring your Assembled Sliding Screen Door with accuracy. Be sure to follow instructions.
Consumer takes full responsibility for measurements and installation. We recommend that you use a handyman service to install. Best Custom Screens is not responsible for consumer measuring mistakes.
Every Sliding Screen Door Replacement Kit is Custom Made To Size, allow 10 to 15 business days minimum production lead time for diy screen door kit to be made. Especially during these time of COVID & delays at the Los Angeles Harbor.
Disclaimer
Visit the Terms and Conditions page. By purchasing from the BCS website the Buyer agrees to all Terms of Sale and by using this website customer agrees to the Terms of Use.
How-To Sliding Screen Door
How to Measure an Economy Sliding Screen Door

The most common widths are 36″ & 48″. The most variation in measuring slider screen doors and the most critical measurement is the height! Furthermore, refer to the instructions below for height measuring, while making sure to use the right tool for the job.
Also, always use a heavy-duty measuring tape with a blade width of minimum 1 Inch. Typical Blade Material Steel, Case Type Closed, Graduations 1/16 In. Stanley lock 25 ft. “the old diehard contractors tape” would do just fine, and the way I personally use and prefer a Stanley Fat Max 25 ft!! Since it works great for large window and door openings.
Always use a 1″ minimum-width tape measure.
Step-by-step process
- Measure the width.
- Most common widths are 36″ and 48″
- Measure the height.
- Set your tape measure on the top of the bottom track
- Measure upward at the bottom lip of the U-Channel.
- Add a quarter inch 1/4″ to your measurement.
How To Install a Sliding Screen Door

Step-by-step installation guide.
- Attach plastic track guides to the top of the right side of the frame and then to the left side.
- Take your sliding screen door and carefully insert the top wheel and frame up into the top channel
- Use your putty knife or flat-head screwdriver to lift the lower wheels over the bottom track.
- If the wheels do not raise, then use the Phillips head screwdriver to turn the set screw clockwise or counterclockwise to adjust the wheel outside of the frame.
- Slide the wheels and bottom frame after the bottom track.
- Use silicone spray or Aluma-Lub on the bottom track and wheels for smooth sliding.
- Set the J-hook for the latch.
- You will need the cordless drill, the j-hook, the self-drilling screw, and the track guides are attached to the black latch in a clear plastic bag.
- Remove it. Mark the frame where the metal latch is located, then mark the frame where the j-hook is going to mount.
- Install the J-hook with the provided screws, and adjust if needed. Test the screen door to make sure everything works.
How To Cut Down a Sliding Screen Door
How To Fix/Repair a Binding Sliding Screen Door
How To Replace the Sliding Screen Door Track on a Vinyl Sliding Glass Door
How-To Screen Door
How-To Measure a Screen Door
How-To Install a Screen Door
| Weight | 20 lbs |
|---|---|
| Dimensions | 96 × 4 × 4 in |
| Color | White, Bronze, Grey, Almond / Tan, Adobe / Champagne |
| Width | 30″, 36″, 48″ |
| Customize Height | 77″, 77 1/4″, 77 1/2″, 77 3/4″, 78″, 78 1/4″, 78 1/2″, 78 3/4″, 79″, 79 1/4″, 79 1/2″, 79 3/4″, 80″, 80 1/4″, 80 1/2″, 80 3/4″, 81″, 81 1/4″, 81 1/2″, 81 3/4″, 82″, 82 1/4″, 82 1/2″, 82 3/4″, 83″, 83 1/4″, 83 1/2″, 83 3/4″, 84″, 84 1/4″, 84 1/2″, 84 3/4″, 85″, 85 1/4″, 85 1/2″, 85 3/4″, 86″, 86 1/4″, 86 1/2″, 86 3/4″, 87″, 87 1/4″, 87 1/2″, 87 3/4″, 88″, 88 1/4″, 88 1/2″, 88 3/4″, 89″, 89 1/4″, 89 1/2″, 89 3/4″, 90″, 90 1/4″, 90 1/2″, 90 3/4″, 91″, 91 1/4″, 91 1/2″, 91 3/4″, 92″, 92 1/4″, 92 1/2″, 92 3/4″, 93″, 93 1/4″, 93 1/2″, 93 3/4″, 94″, 94 1/4″, 94 1/2″, 94 3/4″, 95″, 95 1/4″, 95 1/2″, 95 3/4″, 96″, 96 1/4″, 96 1/2″, 96 3/4″, 97″, 97 1/4″, 97 1/2″, 97 3/4″, 98″ |
| Wheels | Steel Rollers included |
1 review for Aluminum Sliding Screen Door Kit
You must be logged in to post a review.
Products and Services
Patio sliding screen doors, Window screens with fiberglass screening, and Retractable screens, Custom wickets, Aluminum Phifer wire screens, Solar screens (Suntex 80 and 90), Pet doors and pet screens, and Security screen doors and storm doors.Company Philosophy
Best Custom Screens focuses on providing reliable products at affordable prices, emphasizing customer service and quality. Their slogan is "Shielding your windows and doors," highlighting their commitment to protecting homes from harmful sun rays and insects.Leadership
The company is led by Steve Tristan, who serves as the principal owner and President. Steve's background of overcoming challenges has shaped the company's values and drive for success.

SHIPPING & DELIVERING SCREENS
🚚 Large Item Shipping Policy
Because our custom screen doors and large window screens (over 46 inches) are fully built and highly fragile, they cannot ship via standard parcel carriers like UPS or FedEx. We utilize specialized freight and regional trucking networks to deliver them safely.
📍 How We Ship to Your State
West Coast Metro Areas (Fully Assembled): We ship out of our Los Angeles and Las Vegas facilities. Shipping fully assembled product is highly affordable for metropolitan locations within CA, AZ, NV, NM, WA, OR, ID, and UT.
Rural West Coast Areas: Areas defined as rural by our regional carriers cannot accept fully assembled freight. These orders will ship partially assembled via FedEx or UPS.
East Coast & All Other States (Unassembled Kits Recommended): Due to extremely high cross-country freight costs, orders outside our West Coast zone ship Unassembled. Your product will arrive as a high-quality, easy-to-assemble kit to keep your shipping costs affordable and prevent transit damage. If a customer chooses to ship a Fully Assembled Screen Door, please be advised that the shipping will be expensive.
⚠️ Production & Custom Order Rules
Lead Time: Every item is custom made-to-size. Please allow 10 to 15 business days for production before shipment.
No Returns: Because these are fabricated to your exact specifications, custom orders cannot be returned or changed once production begins.
Measurements: The buyer takes full responsibility for sizes. We highly recommend using a handyman service for installation if you are unsure.
📦 Strict Delivery Inspection (Action Required)
A signature is required upon delivery. You must inspect the package before signing.
Visible Damage: If the box is damaged, refuse the delivery and do not sign for it. Note the damage on the driver's slip. If you sign for a damaged package, you become ineligible for a freight claim.
Concealed Damage: If the box looks good but the product inside is damaged, email photos of the box and product to bestcustomscreens@gmail.com within 24 hours.
Replacements: Carrier claims take 30 to 60 days, but we can initiate your replacement product as soon as the initial freight claim is filed.
SPECIAL SHIPPING INSTRUCTIONS:
Above all, shipping prices for Assembled Sliding Screen Doors are for locations in California, Arizona, Nevada, New Mexico, Washington, Oregon, Idaho, and Utah. However, Rural areas are defined by shipping companies, and other states will be shipped Unassembled.
The consumer takes full responsibility for measurements and installation. We recommend that you use a handyman service to install it. Best Custom Screens is not responsible for consumer measurement mistakes.
Custom Made To Size: Be sure to allow 10 to 15 business days for production lead time.
You may also like…
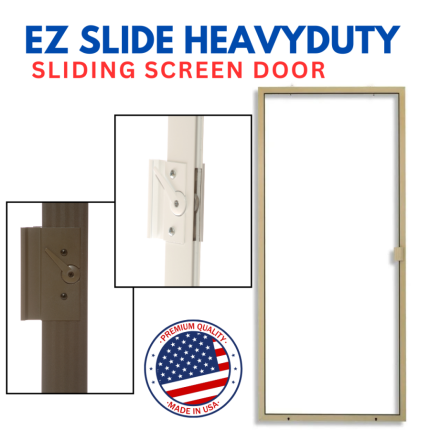
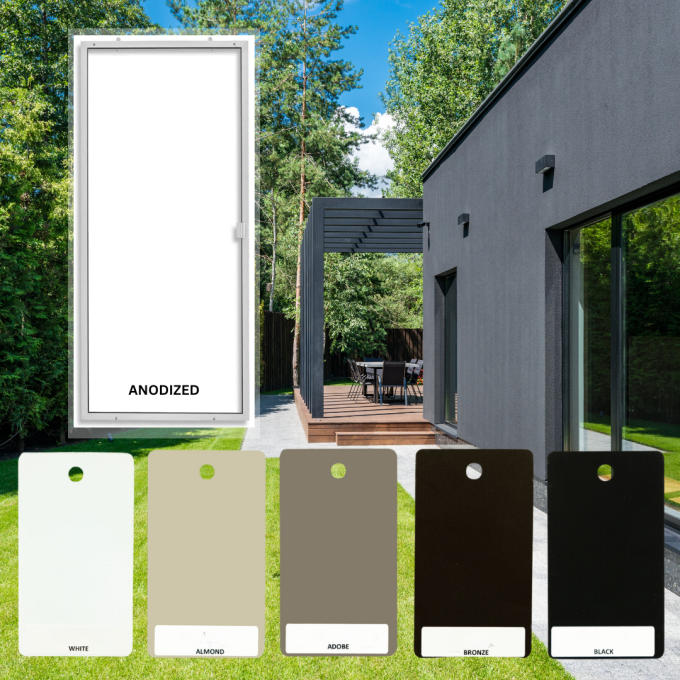
Heavy Duty Sliding Screen Door
The Best Custom Screens Heavy Duty Sliding Screen Doors
Our Heavy-Duty Sliding Screen Doors slide like butter and latch securely. Unlike any other national brand, the Best Custom Screens Brand brings you the ultimate screen door that easily glides. Available in three unique models (EZ Slide, Super Duper, Premier "Anderson"), these are exclusively made by Active Window Products. Fully assembled, typical, and 8-foot heights available, all custom-made to size. Shipped in our exclusive packaging nationwide.
Related products
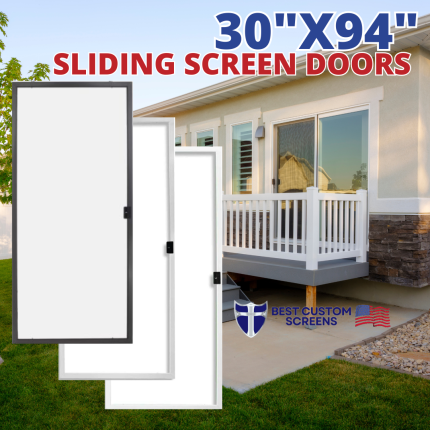
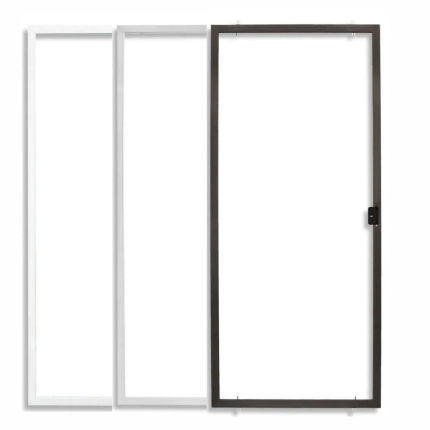
30 x 94 Economy Sliding Screen Door – Custom Made and Fully Assembled for 5-Foot Sliding Glass Doors
Best Custom Screens: 8 ft Oversized, Fully Assembled Sliding Screen Doors—Order your 30 x 94 to 96 Economy Sliding Screen Door today!
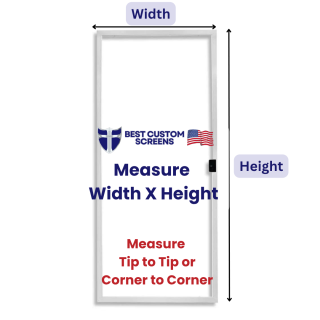 30"x94" Economy Screen Door Replacement. Home Depot or Lowe's does not carry this size in their stores. The only company online selling large-sized fully assembled 8-foot sliding screen doors nationwide—no assembly required. Tall screen doors (30x93, 30x94, 30x95, 30x96, and custom heights in ⅛” and ¼” increments). Your screen door arrives ready to install, saving you time and hassle. Sturdy packaging ensures your door arrives intact—unbox and install.
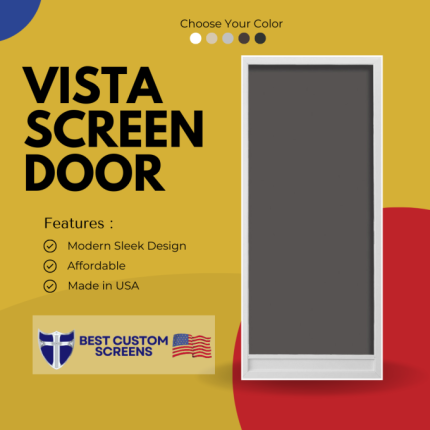
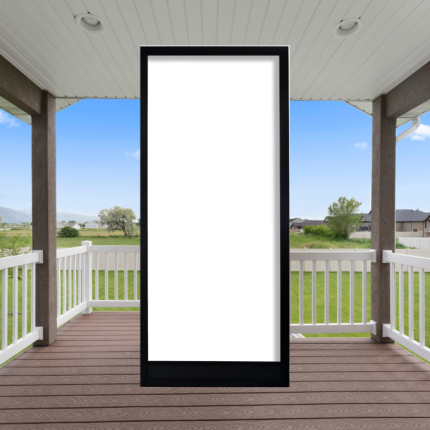
Vista Custom – Hinged Swinging Screen Door

The Vista Custom hinged swinging screen door is perfect for exterior doors of a house or apartment. It's reasonable price and durable quality make it a superior product over imported box store brands. Great product for the handy man, maintenance shops, and real estate house flippers.
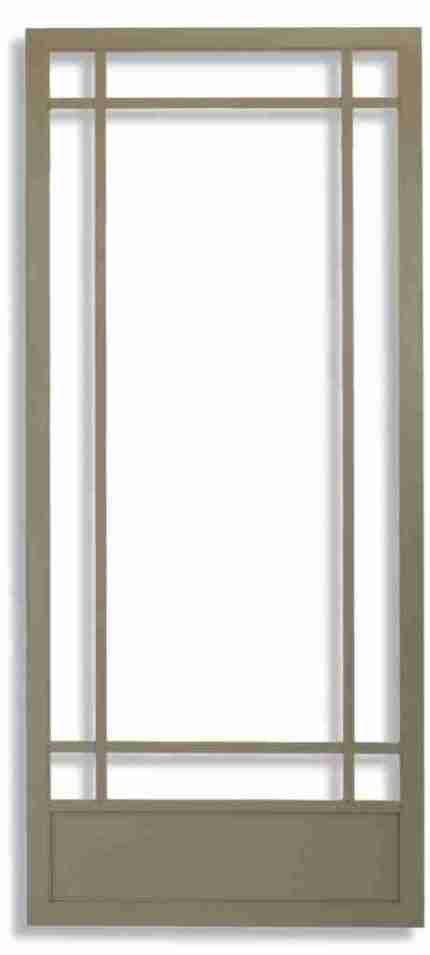

French Door Kit for Swinging Screen Doors
The 3/4" H French Door Kit for Swinging Screen Doors provide the necessary parts to mount two swinging screen doors. Also known as a Double Door Astragal Kit.
Available Sizes: 84", 90", 96", & 108"
Available Colors: Anodized, Black, Tan, Mill, White, Bronze, & Adobe
Parts Include: 2 ea. Surface Lock for fixed screen door, 1 ea. Strike plate for french door, and 3/4" x 1 5/32" Extruded Astragal .060 used for installing pair of doors. Mounting screws are included in package.
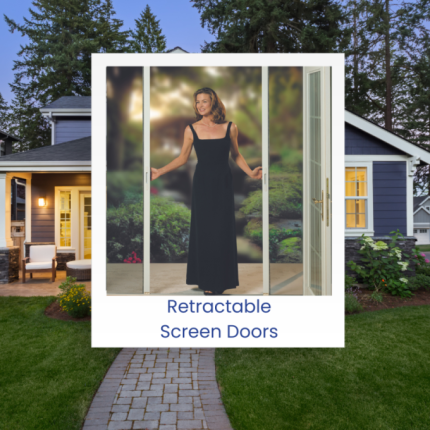
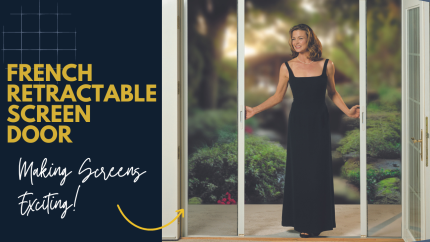
French Door Retractable Screen Door
Experience the perfect fusion of elegance and functionality with our innovative French Door Retractable Screen Door. Designed specifically for French doors, our retractable screen seamlessly integrates into your home's aesthetic, providing superior insect protection and ventilation. Say goodbye to bulky traditional screen doors and hello to uninterrupted views and fresh air flow. Upgrade your space today with unmatched elegance and ease.
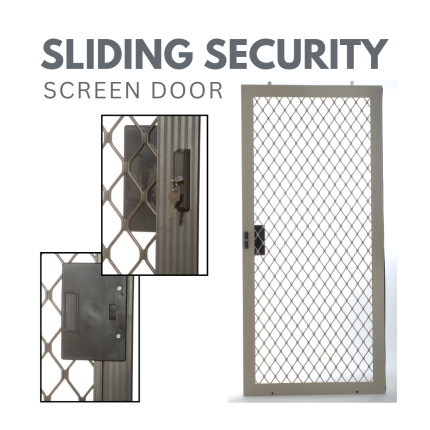
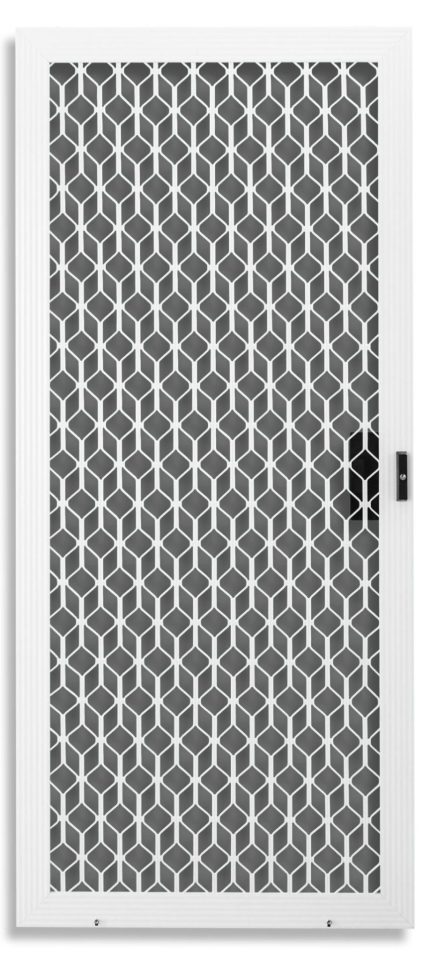
Sliding Security Screen Doors
Keep your home safe with the Aluminum Security Sliding Screen Door. It is custom-made to the size and color of your choice. The heavy-duty ¼” extruded aluminum grille with beefed up ½” x 3 ⅙” .060 extruded aluminum sculptured surface frame provides high-quality durability and security. Meanwhile, the standard insect screening keeps the bugs out and allows fresh air to come into your home.
Aluminum is an ideal material for security screens because it doesn't corrode, rust, or rot. It’s perfect in areas that get a lot of rain and snow. Similarly, it’s great for oceanfront homes and salt-air environments.
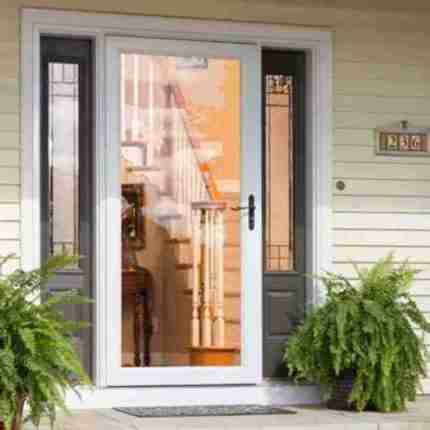
Fullview Storm Door – Standard
Let me introduce you to our brand new storm door
Introducing the Larson Fullview Storm Door standard sizes include 32x80 and 36x80. Both sizes with standard clear glass or Low-E. To top that off our most beautify full glass storm resistant doors in a wide range of color options to add curb appeal and style to your home. Available in seven colors!
Most notable is the superior performance Low-E glass and a full view outside. Similarly standard glass available at a lower cost. Most noteworthy these beautiful and durable storm doors let the sun shine in too.
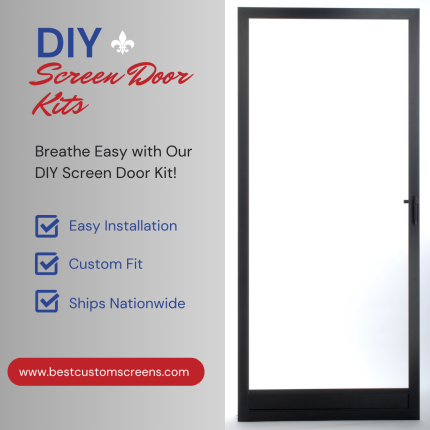
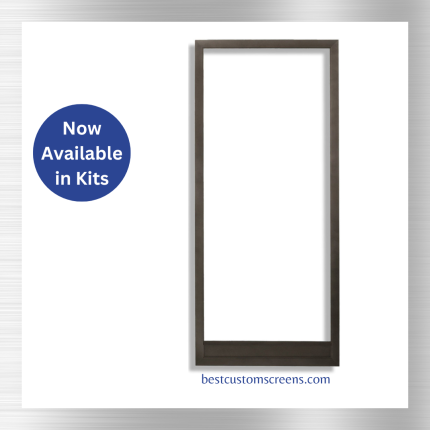
DIY Screen Door Kit – Easy Install for Swinging Hinged Doors
Enhance your home with our DIY Screen Door Kit, designed for easy installation on swinging hinged doors. This custom screen door solution includes all necessary hardware and is made from durable materials. Enjoy fresh air while keeping pests out—perfect for DIY enthusiasts and beginners alike! Ships nationwide by UPS or FedEx.











Mario Draxler –
Just replaced 3 sliding screen doors and I am impressed with the quality of those screen doors. My glass doors have right or left sliding and they were able to give me what I needed.
Steve Tristan’s Best (store manager) –
I am happy we could help you with your 3 sliding screen doors replacement project. Every home is different. This is why we offer custom sizing, options, and can also make out of the ordinary screen doors and window screens. We appreciate your business and review. Thank you.